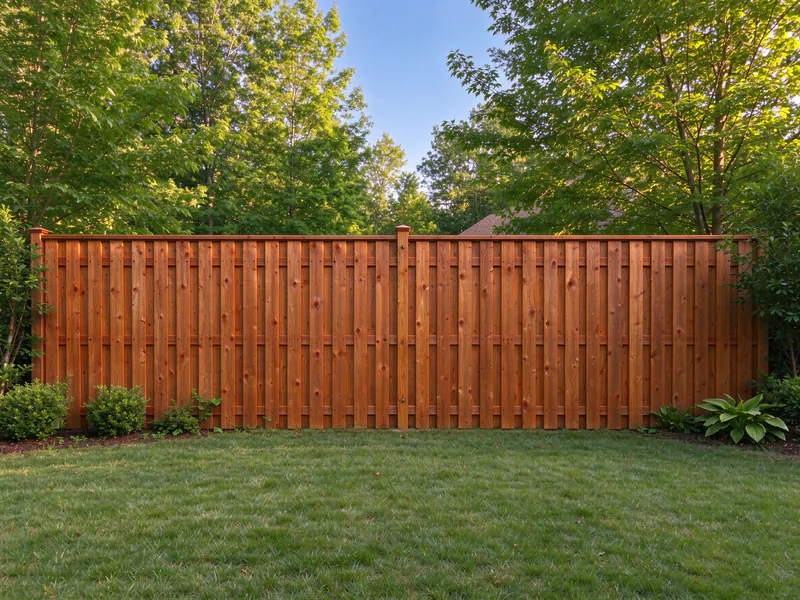
Upright Johns Creek Fencing stains and seals wood fences across Johns Creek and north Fulton, with the work done by licensed and insured contractors. Stain is what keeps a wood fence looking cared for: it shields the boards from sun and water, slows graying and checking, and evens out the color of new and old wood. It does not fix structural problems, and applied at the wrong time, it peels. Good staining is mostly timing and preparation.
What happens on the first visit
The visit looks at both sides of the fence, how much sun each side gets, and what is on the surface: mildew, algae, pollen, old stain or bare gray wood. Loose boards and rotted posts are noted, because staining a fence that needs repair first wastes the stain. For new fences, the wood is tested to see whether it is dry enough to take stain. Your HOA’s color rules are checked; in Sandy Springs, fences are limited to black, white and earth tones.
The estimate covers cleaning, any repairs, the stain type and color, which sides are included and how nearby plants, siding and hardscape are protected.
When new wood is ready
New pressure-treated pine often arrives wet from the treatment process. Stain applied to wet wood sits on the surface, dries unevenly and peels. The simple test is to sprinkle water on a few boards in sun and shade: if the water soaks in, the wood is ready; if it beads, wait a few more weeks. That is often a few months after installation. Cedar and kiln-dried lumber can usually be finished sooner. The new fence staining guide explains the timing in more detail.
Cleaning comes first
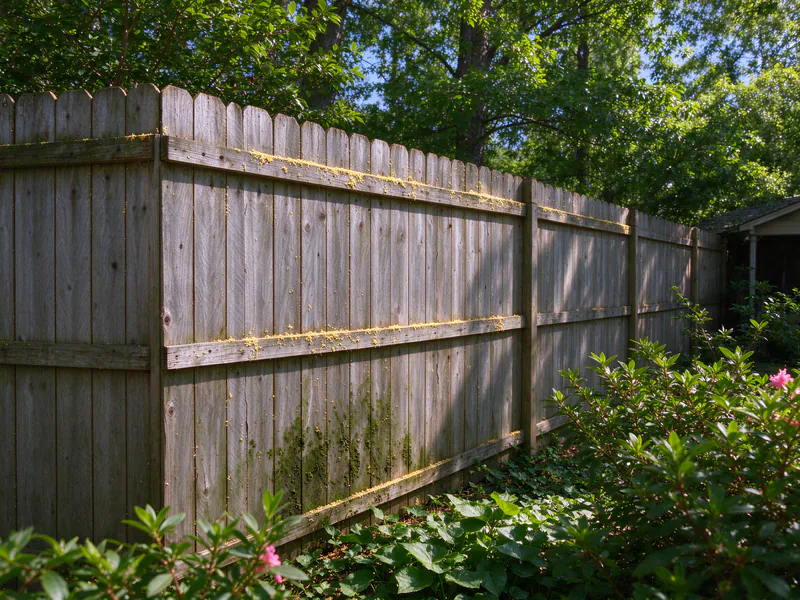
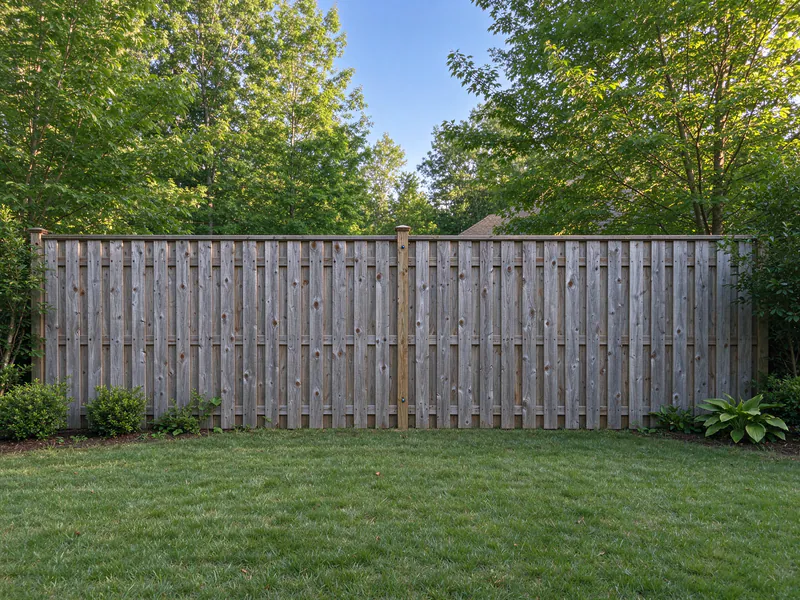
Most of what makes a fence look old in Johns Creek is on the surface. The shaded side of a fence grows mildew and green algae in humid weather, and the yellow pine pollen that covers everything in spring settles into the grain. Old wood turns gray as sunlight breaks down the surface fibers. Staining over any of that traps it under the finish.
Cleaning is followed by any repairs; it removes dirt, mildew, algae and pollen and brings the gray surface back to sound wood. A wood cleaner followed by a brightener restores the color without the damage that a pressure washer held too close can do, which raises fibers and leaves stripes. The fence then dries fully before staining.
Choosing a stain
Clear finishes and toners show the most grain and give the least protection from sun, so they need recoating most often; they suit new cedar where a natural look matters. Semi-transparent stains add color while letting the grain show, protect better from sun and are the usual choice for pine privacy fences. Solid stains look more like paint, give the most UV protection and hide mismatched or older wood, but they can peel if moisture gets behind them.
Oil-based stains soak into the wood; water-based stains clean up easily and dry faster. The right one depends on the wood, its condition and whether it has been stained before, because changing between types can require stripping the old finish.
Application
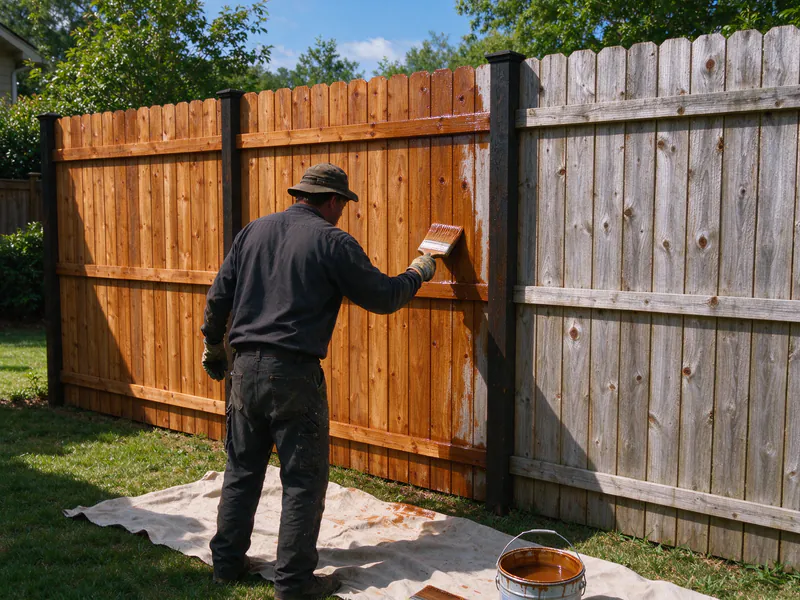
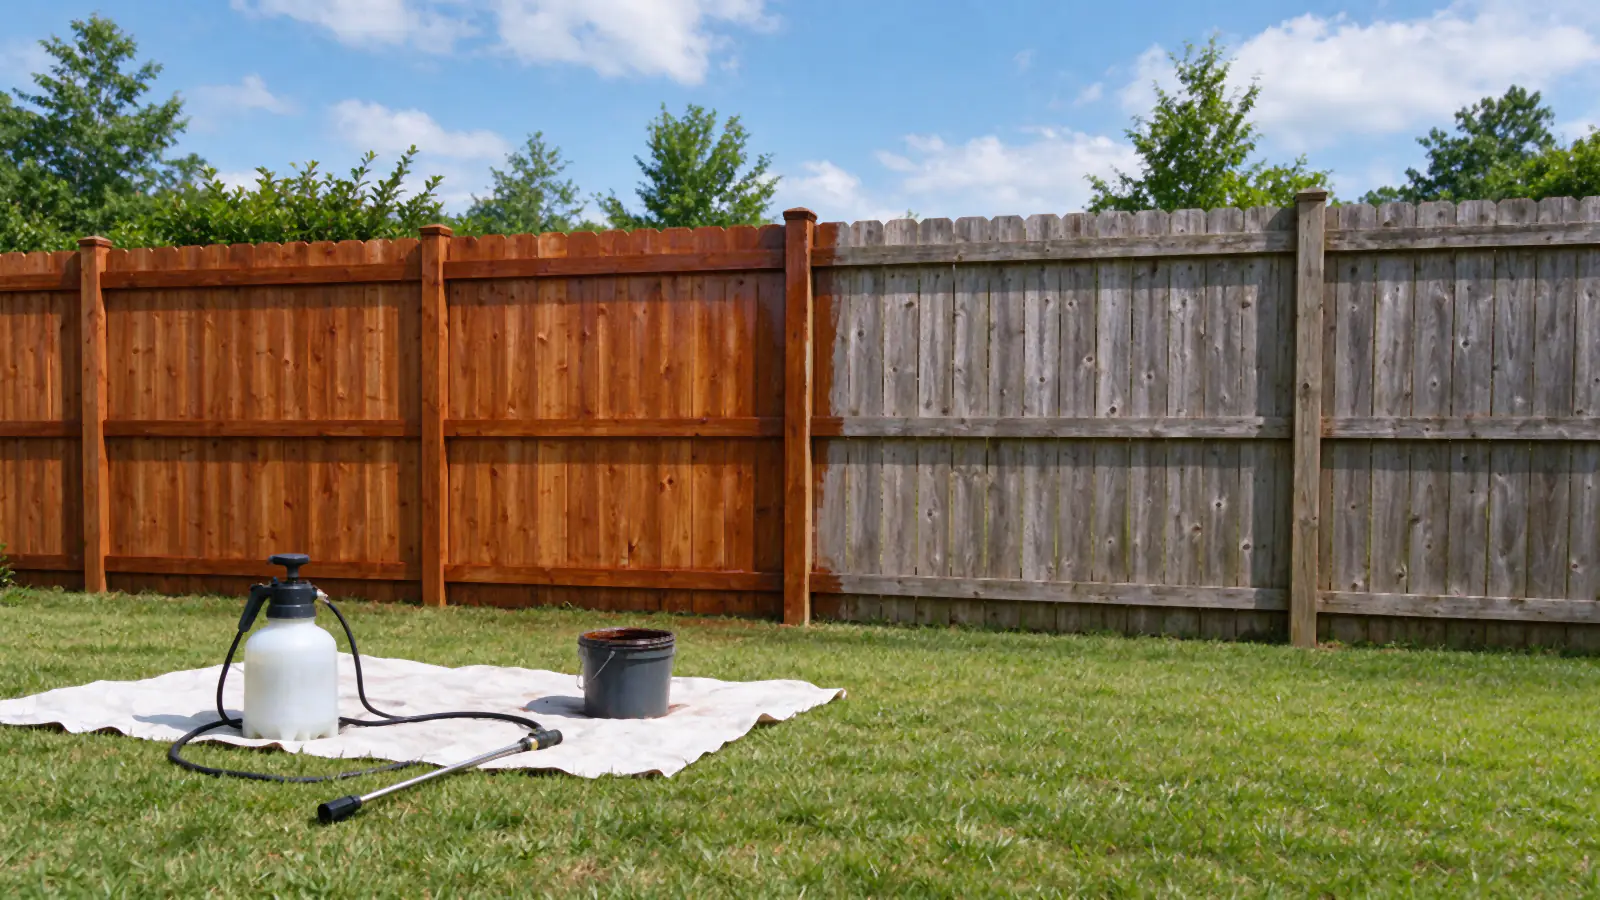
Stain is sprayed or rolled onto the boards and then back-brushed, which works it into the grain and the gaps between boards and evens out runs. Posts, rails and the tops of boards, where water sits, get the same attention as the faces. Work is scheduled for dry days with a dry window after, because rain on fresh stain washes it out and leaves spots.
Plants along the fence are covered or wetted, and siding, hardscape and cars are protected from overspray.
Both sides of the fence
Wood takes on and loses moisture through both faces. Staining only one side leaves the other to weather and can cause boards to cup as the two sides dry at different rates. Where the back of the fence faces a neighbor’s yard, staining that side needs their permission for access. Many neighbors are glad to have it done.
What stain can and cannot do
Stain protects boards above ground from sun and water and slows checking and graying. It cannot reverse rot, and it does not reach the part of a post that fails first, the few inches below the soil line. A fence with soft posts needs repair or replacement, not stain. The wood fence lifespan guide explains what decides how long the structure lasts.
Keeping a stained fence looking good
A light wash each spring after pollen season keeps the surface clean. Sprinklers are aimed away from the boards, and mulch and soil are kept off the bottom. When water stops beading and the color fades, it is time to recoat, which is easier than restoring a fence that has gone fully gray. Fences in full sun need it sooner than fences in shade.
Staining a new fence or after repairs
After a new wood fence goes in, staining is scheduled once the wood is ready rather than right away. After a repair, new boards look lighter than weathered ones; staining the whole run evens them out.
What staining costs
Fence staining is priced from the length and height of the fence, which sides are included, how much cleaning and repair it needs, the stain chosen, and access along the line. The estimate lists each so you can compare options, such as one side now and the other later.
Fences that are too far gone
Sometimes a fence has weathered past the point where stain helps. Boards that are split, cupped or soft, and posts that move at the base, need replacement or repair before any finish is worth applying. A fence with a few bad boards can have them replaced first and then be stained as one; a fence with failing posts along most of the line is usually a replacement. The first visit sorts which is which, so stain is only applied where it will last. On a fence that will be replaced within a season or two, a cleaning alone can make it presentable without the cost of staining wood that is coming out.